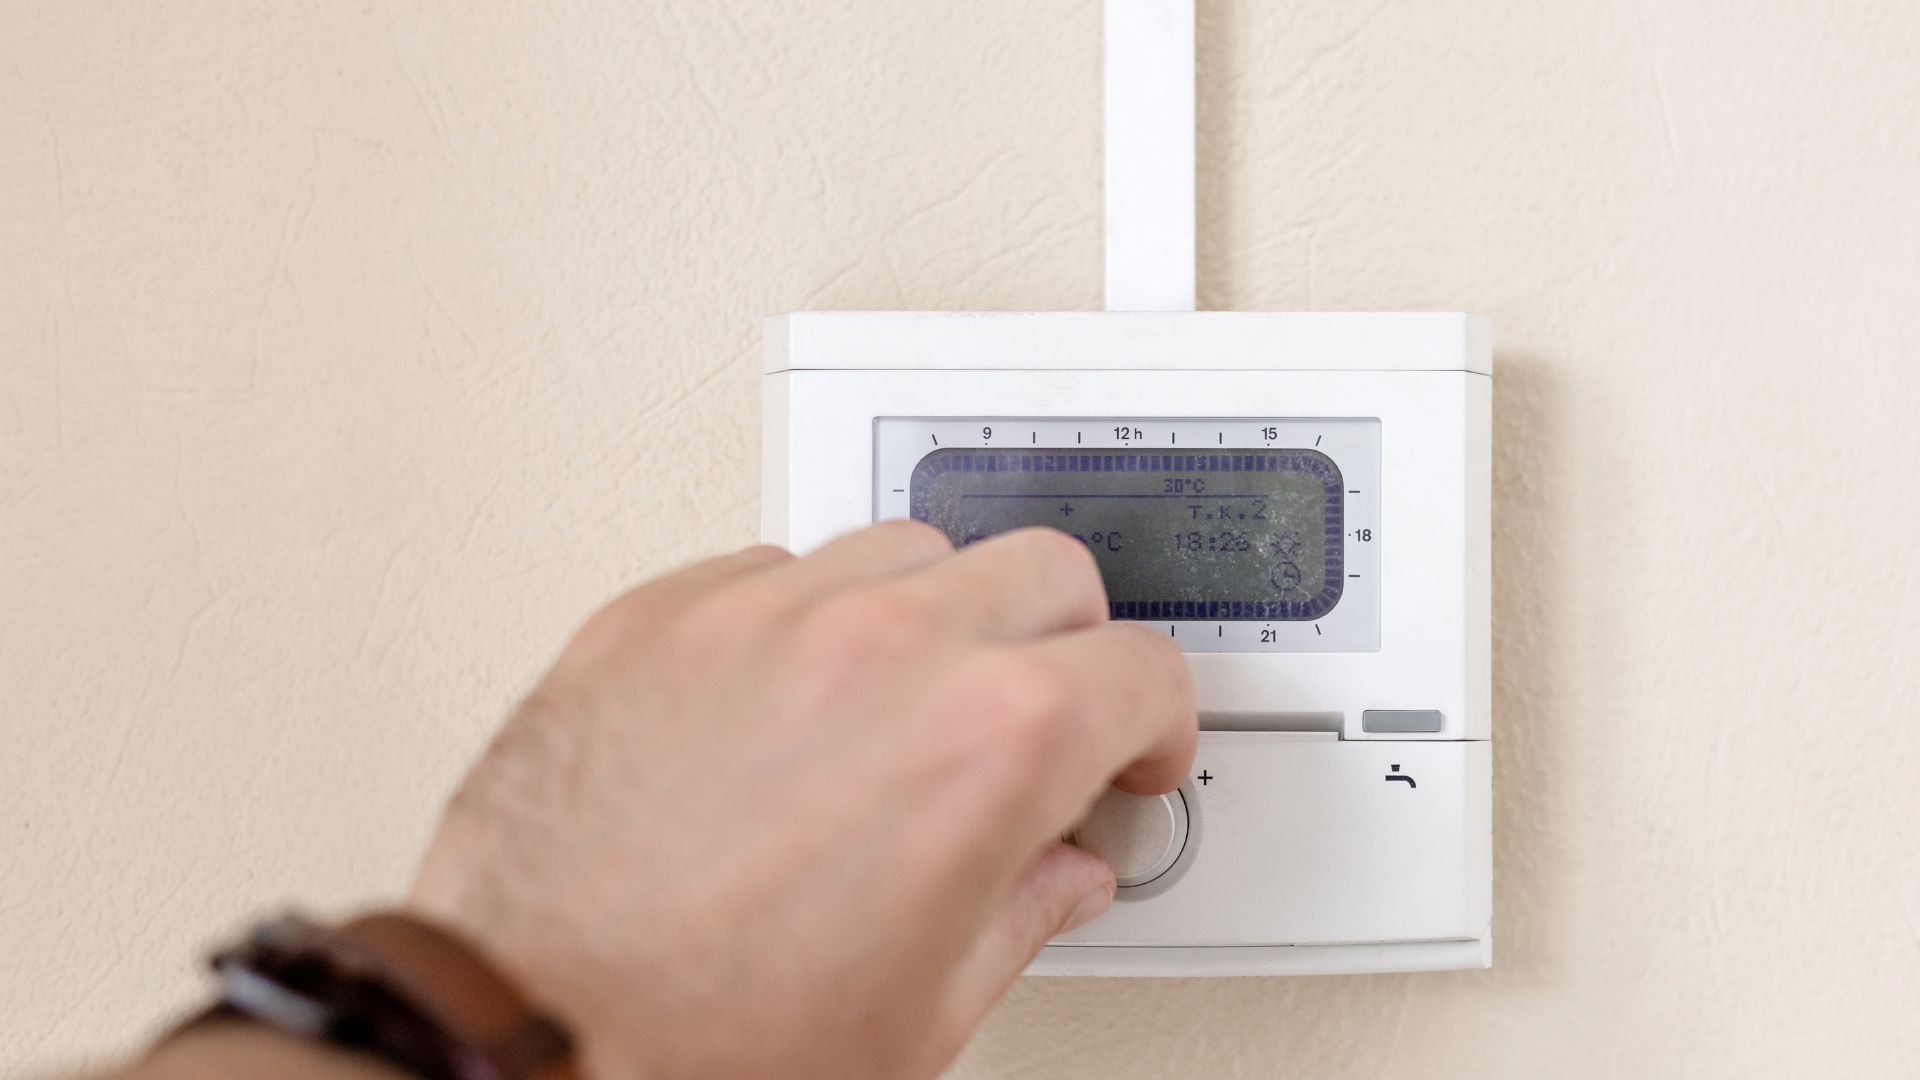
Have you recently changed your thermostat only to find that your HVAC system is no longer working? While a new thermostat can improve energy efficiency and overall comfort, it can also cause issues if not installed or programmed correctly.
Don’t panic just yet!
In this blog post, we will cover the steps you need to take when your HVAC system stops working after changing the thermostat. From checking power sources to cleaning sensors, we’ve got you covered with expert tips and advice.
So, let’s dive in and get your HVAC system up and running again!
1. Check the power source
Before assuming the worst, it’s important to check the power source of your HVAC system. Start by checking if your system is getting electricity. Check if the wires are properly connected and look for any signs of damage or wear.
If you have a battery-powered thermostat, make sure that you’ve replaced the batteries recently. If your thermostat isn’t receiving power, then it may not be able to communicate with your heating and cooling systems.
You can also try turning off the power supply to your HVAC unit for 5-10 minutes before turning it back on again. This process can help reset your system and potentially fix any electrical issues that were causing problems.
Remember to always exercise caution when working with electrical components – turn off all electrical sources before handling wiring or fuses! If you’re unsure about how to safely check the power source of your HVAC system, consider contacting a professional who specializes in HVAC repair services.
2. Check the circuit breaker or fuse
One of the reasons why your HVAC system might not be working after changing the thermostat is due to a tripped circuit breaker or a blown fuse. This can happen when there’s been a power surge, which causes the electrical system to overload and shut off.
To check if this is the issue, you need to locate your circuit breaker panel or fuse box. It’s usually found in a closet, basement, garage, or utility room. Once you’ve located it, look for any circuits labelled “HVAC” or “air conditioner.” If one of them has tripped or turned off, switch it back on.
If you have fuses instead of circuit breakers, remove the blown one and replace it with a new one that matches its amperage rating. Be cautious while handling fuses as they are fragile and can easily break.
It’s important to note that if your HVAC system keeps tripping its circuit breaker or blowing fuses frequently, it could indicate an underlying issue with your unit that requires professional attention.
Checking for a tripped circuit breaker or blown fuse only takes a few minutes but can save you from expensive repair bills down the road.
3. Check for loose wires
When it comes to HVAC systems, loose wires can be a common culprit for malfunctions. It’s important to check for any loose connections before assuming the worst and calling in a professional.
Start by turning off the power supply to your HVAC system. This will ensure that you don’t accidentally shock yourself while checking for loose wires. Next, remove the cover of your thermostat and inspect the wiring behind it.
Take note of any frayed or damaged wires and tighten any loose connections with a screwdriver. If you come across any damaged wires, consider replacing them entirely as they could pose a safety hazard if left untreated.
After tightening all connections, turn the power back on and test your HVAC system again. If everything seems to be working properly now, then congratulations! You’ve successfully fixed an issue that may have cost you hundreds of dollars in repairs otherwise.
Knowing how to identify and fix issues like these can save homeowners time, money, and stress in dealing with unexpected repairs or breakdowns down the line.
4. Set the thermostat to the correct setting
Setting the thermostat to the correct setting is an important step in ensuring that your HVAC system works properly. It may seem like a simple task, but it can have a big impact on the performance of your heating and cooling system.
First, check that your thermostat is set to “auto” mode instead of “on.” When set to “on,” the fan will run continuously even if the air conditioning or heating isn’t needed. This can waste energy and increase your utility bills.
Next, make sure that you’ve set the temperature correctly for each season. Setting it too high in winter or too low in summer can cause unnecessary strain on your HVAC system.
If you have a programmable thermostat, take advantage of its features by setting different temperatures for different times of the day. For example, during working hours when no one is home, you can lower the temperature to save energy and money.
Consider upgrading to a smart thermostat that allows remote access and control from anywhere using Wi-Fi connectivity. With this type of technology at hand, controlling indoor climate has never been easier.
Taking care when setting up your thermostat ensures optimal functionality of your HVAC unit while also saving energy costs throughout every season!
5. Clean the sensors
When it comes to troubleshooting your HVAC after changing the thermostat, one important step is to clean the sensors. Over time, these tiny components can become dirty or dusty, which can cause them to malfunction and prevent your system from working correctly.
To begin cleaning the sensors, start by turning off the power to your HVAC system. You don’t want any live wires while you’re working on this delicate part of your system! Then locate the sensors – they are typically located near the indoor evaporator coil.
Use a soft-bristled brush or cloth to gently remove any dust or debris that has accumulated on the sensors. Avoid using harsh chemicals or water as this could damage them.
Once you’ve finished cleaning, turn the power back on and test if your HVAC is now running properly. If not, don’t forget there may be other issues at play too!
By taking care of small routine maintenance tasks such as cleaning your HVAC sensors, you’ll help ensure that your system is running smoothly all year long and avoid costly repairs in the future!
Conclusion
After going through all the steps mentioned above, your HVAC system should be up and running smoothly. However, if you have tried everything and your HVAC still isn’t working, it might be time to call in a professional for help.
Remember, always prioritize safety when dealing with the electrical components of your HVAC system.
We hope this guide has been helpful in troubleshooting why your HVAC is not working after changing the thermostat. Good luck!


